Oil Painting Rules: Which Ones Really Matter (And Which Ones Don't)
Some Oil Painting Rules Matter More Than Others
If you've spent any time around artists, you've probably heard a lot of "rules." Some are passed down by teachers. Others are repeated so often they begin to sound like absolute truth. But not all painting rules are created equal.
Some are based on the chemistry of oil paint and exist for a very good reason. Ignore them, and you can end up with cracking, peeling, poor adhesion, or paintings that simply don't stand the test of time. Those are the rules worth paying attention to.
Others are simply preferences that artists have developed over time. They're not right or wrong — they're just different approaches. Knowing the difference lets you follow the rules that truly matter while giving yourself permission to ignore the ones that don't.
Why I Wrote This Post
Years ago a friend of mine called me in a panic. She'd painted something in oils as a gift for someone for Christmas, but it just wasn't drying. So I asked her what color she'd used (since I suspected that was part of the problem).
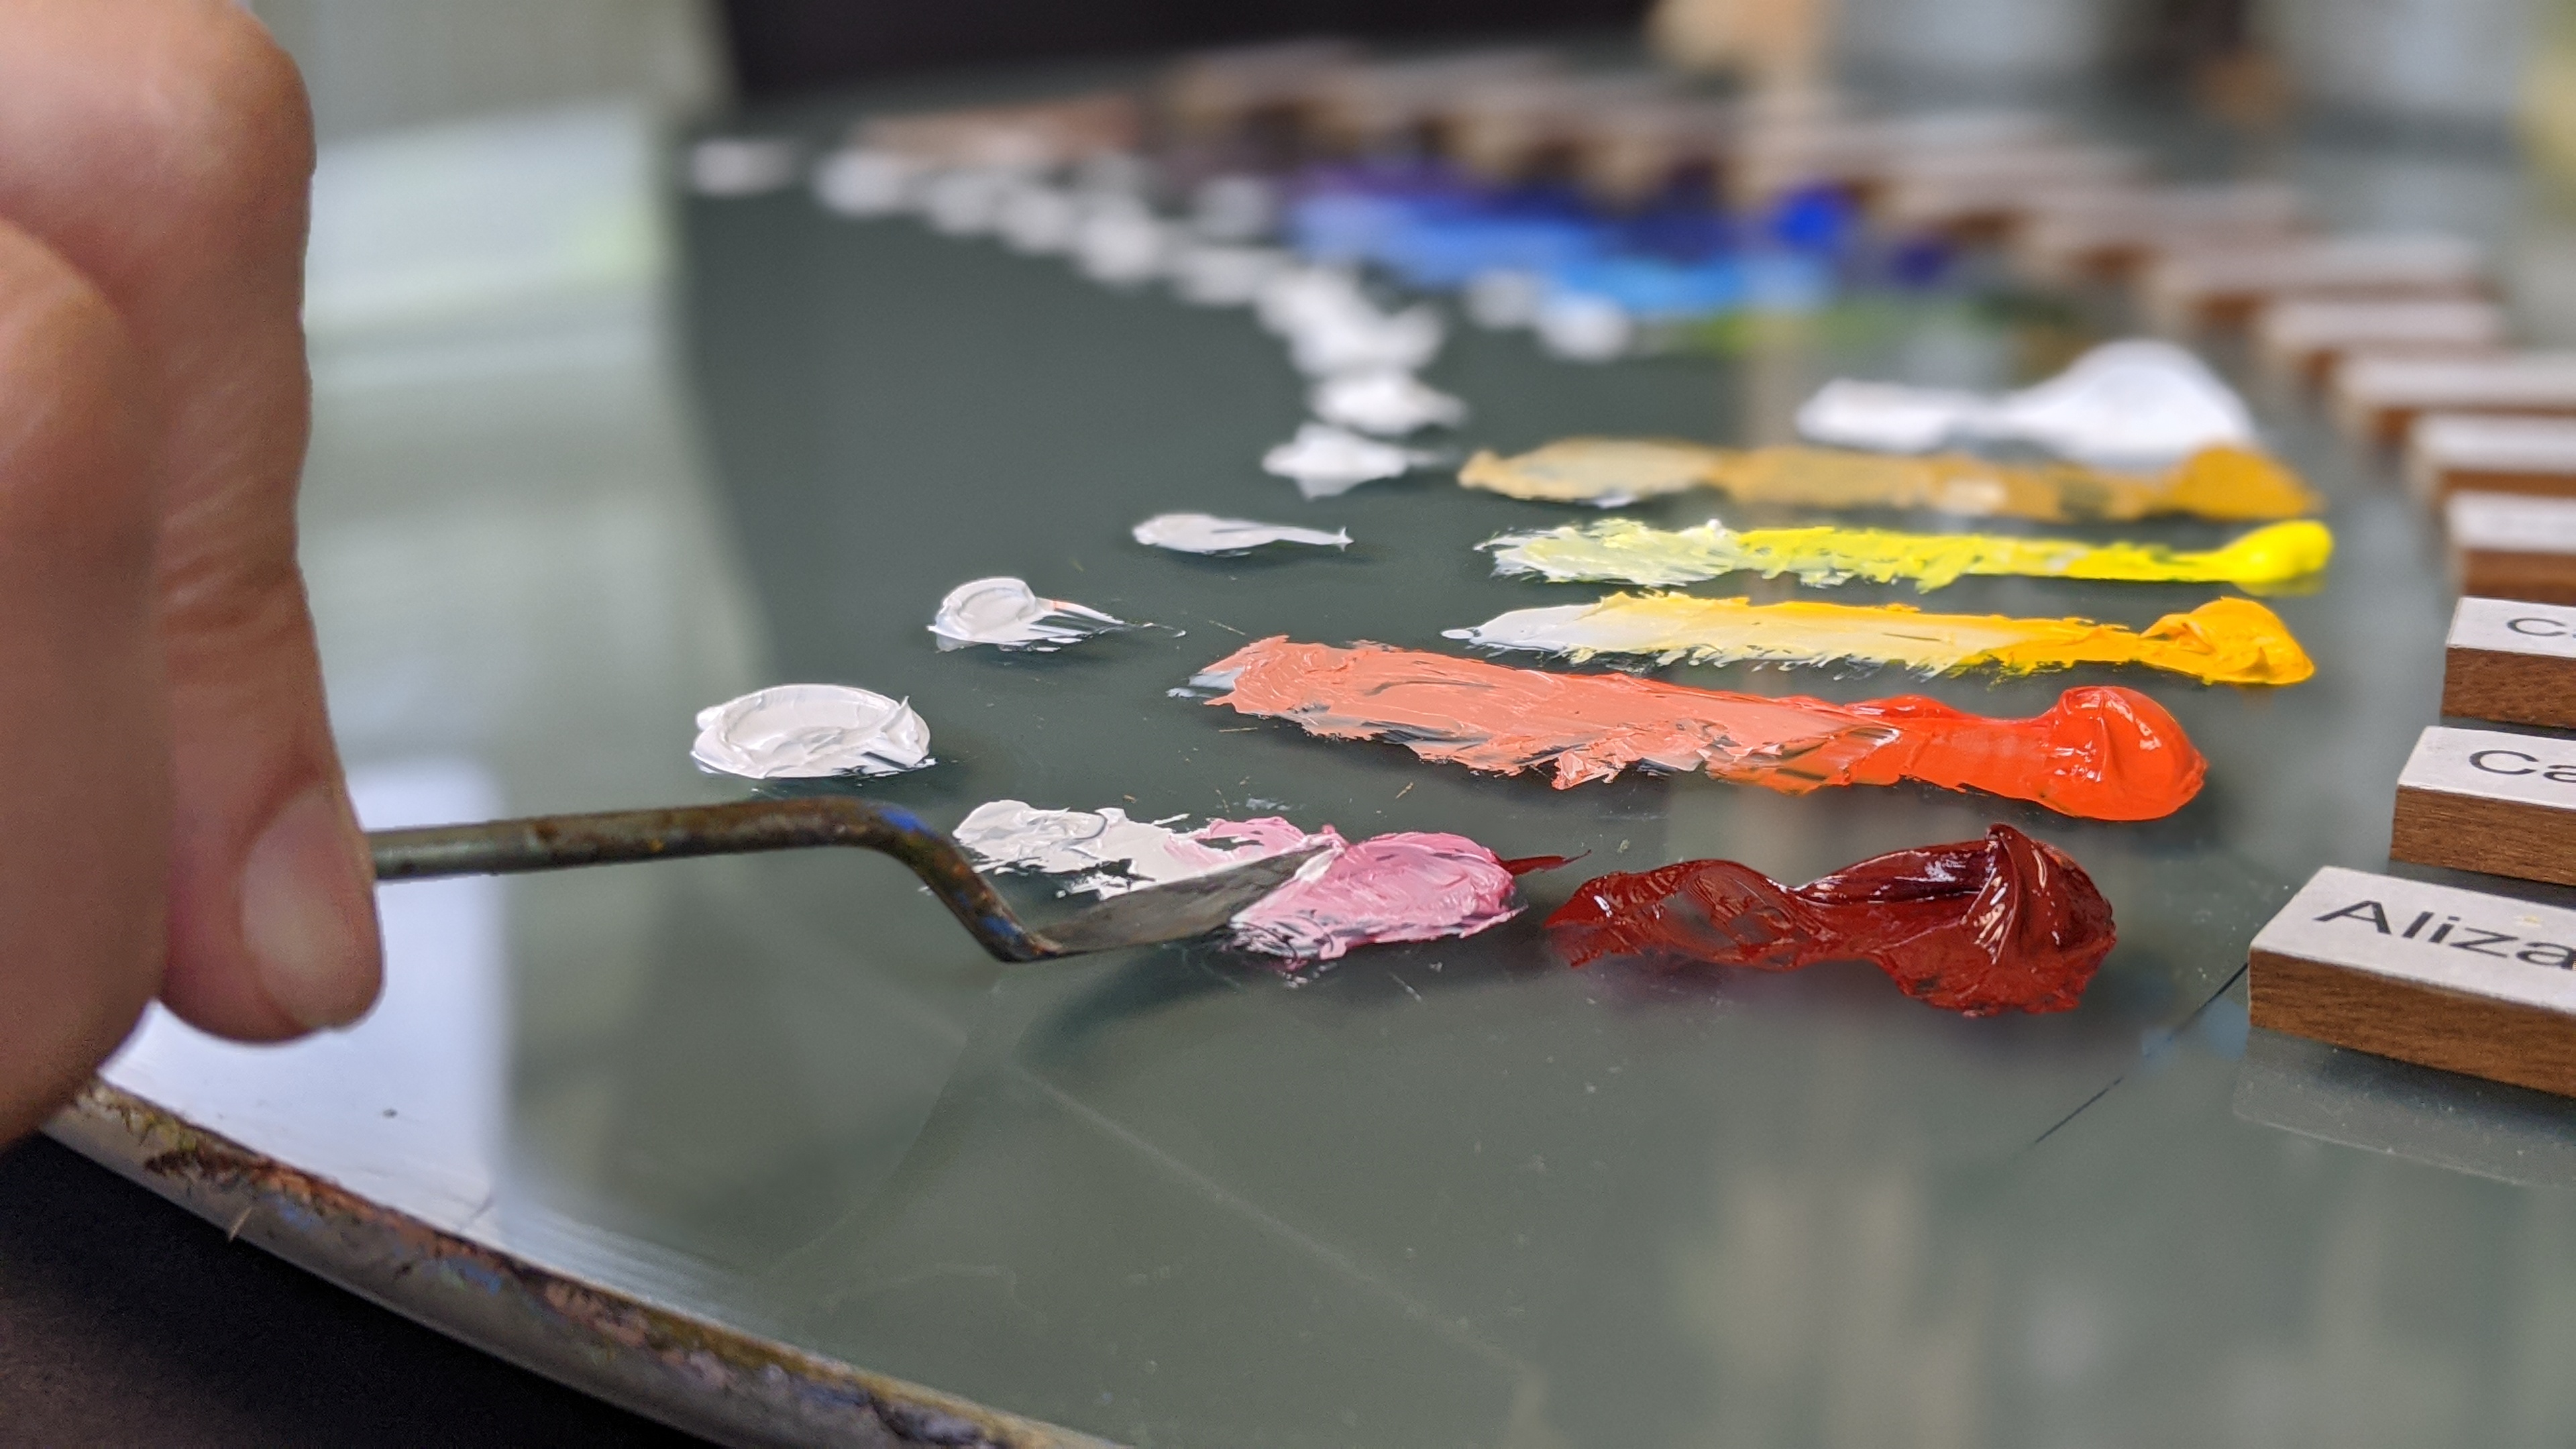
"Alizarin Crimson" she said, "with beautiful thick paint textures."
Well, there you go, problem identified.
Deep reds, especially alizarin crimson, are among the slowest drying colors. Couple that with painting thickly and not using a drying medium...
Then yes, you're definitely going to wait what seems like forever for it to dry.
If you know me, I don't like using absolutes like "always" or "never", or "this is the ONLY way". Generally (but not always), statements like those are opinions, not actually facts. (See what I did there? lol)
HOWEVER, there are a few absolutes — rules you should ALWAYS follow if you're painting in oils and want a solidly constructed painting. That is, if you want to avoid problems like cracking or flaking paint. Or paint that won't stick. Or paint that won't dry. And I'm betting you do.
So let's talk about them.
Essential Oil Painting Rules You Should Always Follow
Rule #1: The numero uno rule: Follow Fat Over Lean and Thick Over Thin
These 2 are closely related so I think of them as one. I've covered this one in detail before. So read this post to learn more about this very important rule and why you DO absolutely need to pay attention to this one (ahh, these two).
Rule #2: Paint Slow-Drying Layers Over Fast-Drying Layers
Some colors, like earth tones, just dry faster than others, and some dry much slower (e.g. alizarin crimson). I mitigate this by painting in thin layers and using a little bit of a drying medium, such as Liquin, which helps speed up the drying time of my paint. So while this one is an important rule, I honestly don't have to worry about it since my paint layers typically dry within 24 hours.
Rule #3: Never Paint Acrylic Over Oil Paint
Let's dive into this one a little bit so you understand what's going on here. It's not that you can't do this. It's more about what might happen if you do.
First of all, painting oils on top of acrylics typically isn't an issue. After all, the vast majority of store-bought, pre-primed canvases are prepared with acrylic gesso. Also known as universal primed. So that's not a problem.
The real issue happens if you use acrylics on top of oils. Why you ask? It's a chemistry thing. Oil paint dries via oxidation and acrylics dry via evaporation. According to Golden Artists Colors, "Oil paints form tight, water-resistant films that provide poor adhesion when acrylics are painted on top of them." It also comes back to Rules #1 and #2.
Bonus Pro Tip: Choose mediums over solvents (after the underpainting stage).
This guideline is one I really wish I'd appreciated much earlier. So consider this one your bonus pro tip!
While you can increase the fluidity of your oil paint by thinning with solvent, I strongly advise using mediums instead. Mediums create a better, more flexible bonding layer and a more solid painting that won't crack. These days, I use a minimal amount of solvent and when I do use it, I prefer Chelsea Classical Studio's non-toxic Lavender Brush Cleaner. Minimizing your solvent also makes for a healthier painting environment for you. So that's a win-win in my book.
Oil Painting "Rules" That Are Really Just Opinions
So what "rules" aren't really rules at all, but actually your choice? You may have heard these three, so let's take a moment and dispel them.
Myth #1: Using a Grid Is Cheating
Let's set the record straight. Artists have been using the grid method for a very long time, including Leonardo Da Vinci and Vincent Van Gogh. It's just a tool, like many other tools we use and it's not cheating.
Bottom line, feel free to use a grid if you want. (I do.)
Myth #2: You Should Never Paint from Photographs
Painters have been painting indoors for eons (it's called studio painting). For many landscape painters, en plein air just isn't practical. The thing with plein air is you're constantly racing the changing light, the moving clouds, the wind, the weather, etc. And if you paint large like I do, it's even more challenging. While this can be a fun challenge, there are alternatives.
Here in Texas, it's HOT and HUMID a good bit of the year. This summer we've been in the mid to upper 90s (and it's not even the hottest part of the summer yet). So painting indoors is my choice. Photographs are simply aids, another tool that we can take advantage of. (And I take LOTS of them.)
If you WANT to paint en plein air — do it! If you want to paint indoors — do it! This one is completely your choice.
Myth #3: You Should Always Paint Exactly What You See
This is an interesting one. Yes, I believe if you're striving for realism, what you paint should be based on reality (i.e. don't paint a generic tree, paint specific trees). It's also important to paint what you see, for authentic, more believable paintings.
If you fall into the habit of painting all your trees (or flora, or clouds, etc.) from your imagination, they'll be manneristic — and less realistic. (And it's harder!) That's why I encourage landscape artists to study what they're painting. You can then add details from what you learn and paint your landscapes more successfully.
However, feel free to edit and compose your scene. If there's a cell tower in the middle of your beautiful landscape, you do NOT have to paint it just because it's there (unless you want to). I like to think of my reference as a framework or roadmap. It's there to guide me, not dictate what I paint. It's called creative license.
So deviate from your reference where it makes sense for you – it's your choice.
There you have it. Three rules you really should follow, one pro tip, and three that are NOT rules at all.
Here's one final tip, the next time someone tells you that you HAVE to paint something a particular way to be a "real" artist, understand if there's a real reason behind what they're saying. Is there science involved, or is it just someone's opinion? And if there's no solid reason, it's probably not a rule at all.
Now go do what brings you joy. Me? I'm going to go paint some clouds!
Ready to Go Beyond the Rules?
Understanding the "why" behind oil painting is important. Seeing those principles applied in a real painting is even better.
In my free landscape painting workshop, I'll walk you through the step-by-step process I use to create realistic landscapes while explaining the reasoning behind each stage.
👉 Watch the free workshop here.